Suitcase computer build
A few months ago, I built a computer into an old suitcase from a thrift store. My documentation of the process is a bit sketchy, but here is what I could piece together for a description of the project:
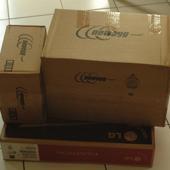
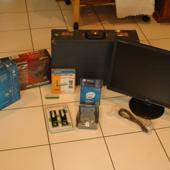
First, I ordered some nice components from NewEgg. Here's what I got:
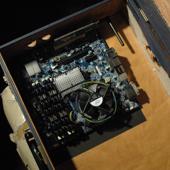
- Intel DG45ID multimedia motherboard. I wasn't interested in building a super-duper powerful workstation, and I didn't want to get a separate video card. So I went with this mobo because it has a decent on-board Intel video chipset; Even though Intel has had some spotty Linux driver support in the past, the drivers are open-source so they'll tend to improve with time and with community contributions. Plus it has an HDMI output, which could have cool potential. Giant video iPod -slash- portable console emulator anyone?
- An OCZ 700w modular power supply. This was perhaps overkill, but it was the cheapest modular supply I could find at the time. "Modular" means that instead of having a thousand wires hanging out of it, it comes with cables with plugs on both ends so you can have exactly as many hooked up as you need. This was important because I needed to cut down on clutter.
- Intel Core2 Quad Q9400 CPU. Nice. This CPU should give me plenty of power without getting into ridiculous server-grade stuff.
- 8 Gigs of Mushkin DDR2 800 memory. Nothing spectacular, but again I wasn't planning on building a dream machine. But I did want lots of memory, and I was planning on making the machine 64-bit (or at least use a PAE kernel).
- Two 1.5TB Seagate Barracuda drives. I wanted lots of storage, and I wanted it to be safe. So one of these drives would be mainly for full-system historical snapshots (using rsnapshot).
- A Gigabyte wireless PCI card (I forget the model). If this is going to be a semi-portable computer, it needs wireless networking, right? I also got a riser card so I could put the wireless card in sideways, but I didn't end up needing it.
- A 22" widescreen LG LCD monitor. My plan was to immediately void the warranty on this by tearing it apart and putting the LCD separate from the components inside the suitcase.
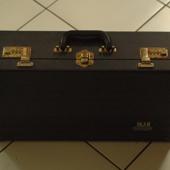
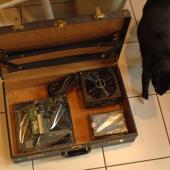
The suitcase itself. I actually found this after I ordered the components... It just happened to have exactly the dimensions I was looking for. Well, close... it seemed a bit small to me, but I figured I could make it work. I didn't even have to shell out 50 cents for it as the sticker indicates... I found it in the Blacktown studio. Turns out it belonged to one of the guys from A Voice Like Rhetoric... They were probably going to use it to store some gear or turn into a pedalboard. Sorry fellas, I owe you four bits. :( Socks helped me make some preliminary component layout plans.
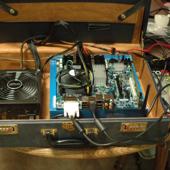
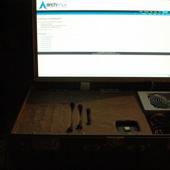
I got impatient and hooked everything up so I could install Arch Linux and start configuring it. It was my first full-on Arch-only system -- a true geek machine.
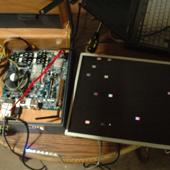
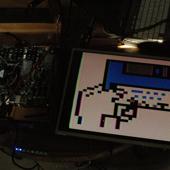
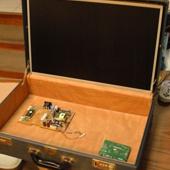
This is when I got nervous. I took the LCD screen apart, and reconnected everything outside of the plastic case to make sure it was all going to work. But, as luck (or providence, as I prefer to think of it) would have it, the screen fit perfectly inside the lid of the suitcase.
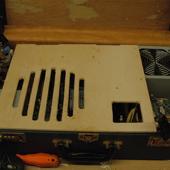
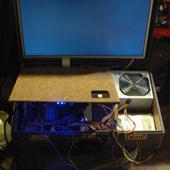
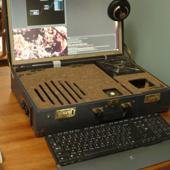
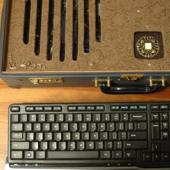
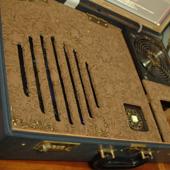
I went to Blacktown Woodworks one night, while Si was building a monster of a modular-commodore-64-vintage-bass-amp-thingy, and made this panel to cover up the components with. I didn't do too bad a job, but it was poor enough that I decided I wanted to cover the panel with some sort of tolex or vinyl instead of just staining the wood.
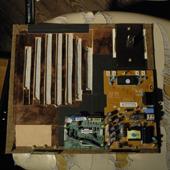
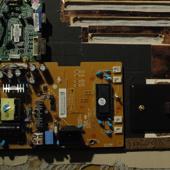
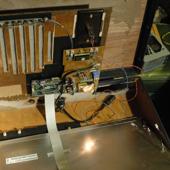
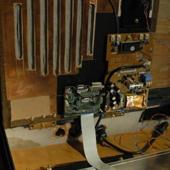
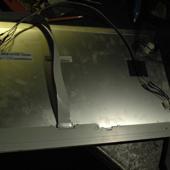
The next step was to figure out how to mount the LCD panel's external components -- the power supply and, because I don't know the technical name for it, a PCB I'll call the "controller board". This involved snipping the backlight power supply lines and soldering in extensions. Initially I used CAT6 for this, but that turned out to be a really bad idea because I later discovered (when I finally dug up a service manual) the CCFLs require 700V! Eventually the current leakage resulting from this poor choice led to the death of the inverter on the power supply board... A fuse blew on the board, and after replacing it I found that the output voltage had dropped down to somewhere around 250V and the lamps would no longer light. This meant I had to replace the board (I couldn't find a drop-in inverter replacement) with a new one from LG. When I replaced the supply board, I also beefed up the high-voltage lines to 18AWG with a heavier jacket (CAT6 is 22AWG). The CCFLs and the inverter seem much happier now (the inverter puts off less heat). Some advice to DIYers: Don't be afraid to make mistakes. :)
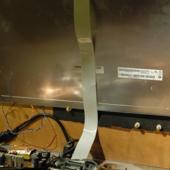
Oh yeah, I also had to get myself a longer 30-pin flex cable because the one connecting the LCD with the "controller board" wasn't long enough. Getting the old connector on the new cable was a scary exercise involving a knife, superglue and a bit of magic. Seriously I'm amazed that it works. In these shots you can also see the power button with an LED that I snagged from a box of spare broadcast mixer parts.
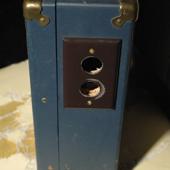
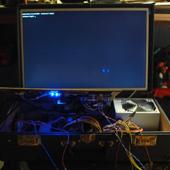
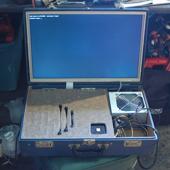
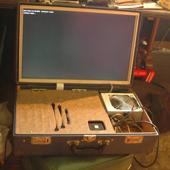
Getting close to completion here. I mounted the motherboard, built a small frame to hold the LCD in place, and cut some holes for the external connectors. I went with Neutrik connectors for everything I could... They make some pretty cool USB and RJ45 jacks. They make an HDMI jack too, but I decided to put that off till later.
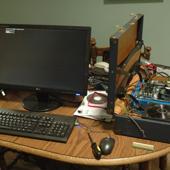
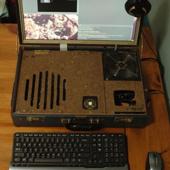
Here you can see the last few things I did. I built a smaller panel for the right-hand side, with a compartment to store the mouse and power cable in. Unfortunately the keyboard doesn't quite fit inside... I'm still thinking about how to remedy that. I may end up modding the keyboard, actually... Or maybe I should get a nice steampunk keyboard to go with it? I also got a few nice little brass filigrees as a finishing touch. Maybe I should paint the power supply? I'm sure I'll keep working on little touches here and there.
UPDATE: Check out the completed build!
Modified Wednesday, March 24, 2021
