Model M Cleanup and USB Mod
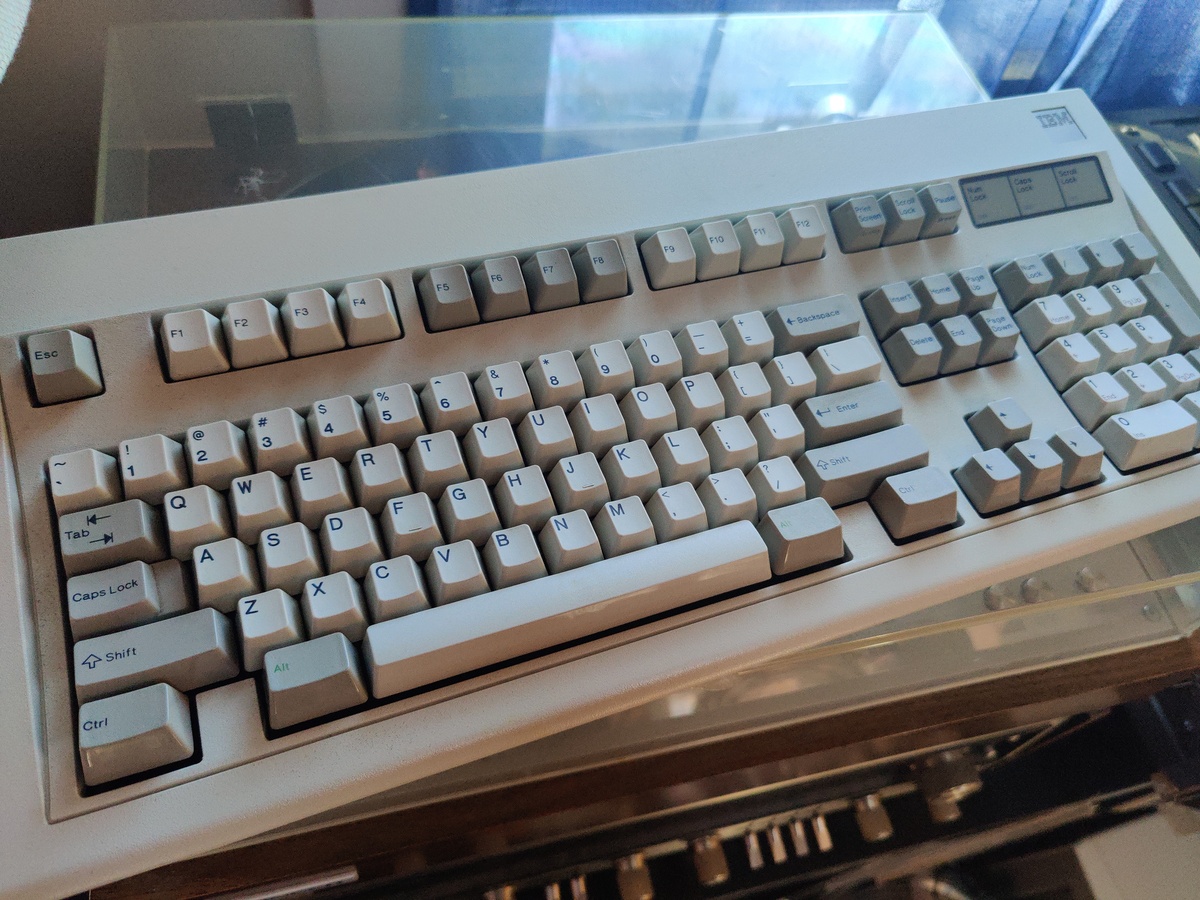
After spending a couple years with a System76 Launch Heavy, I decided I would return to my roots: the Model M. Nothing against the Launch -- it's a great keyboard, I just still haven't gotten used to the layout even after daily driving it since 2024.
The thing that made me switch to the Launch in the first place was my most recent PC upgrade... the motherboard did not have PS/2. One can, of course, use a PS/2 to USB adapter, but I've had mixed success with them when used with a Model M. So at the time, I thought I'd just try out a newer, mechanical keyboard with a somewhat retro look and the Launch fit the bill. Plus, the Model M has no super (Windows) key, so I always had to use setxkbmap to reassign Caps Lock to be the super key, which had some odd side effects.
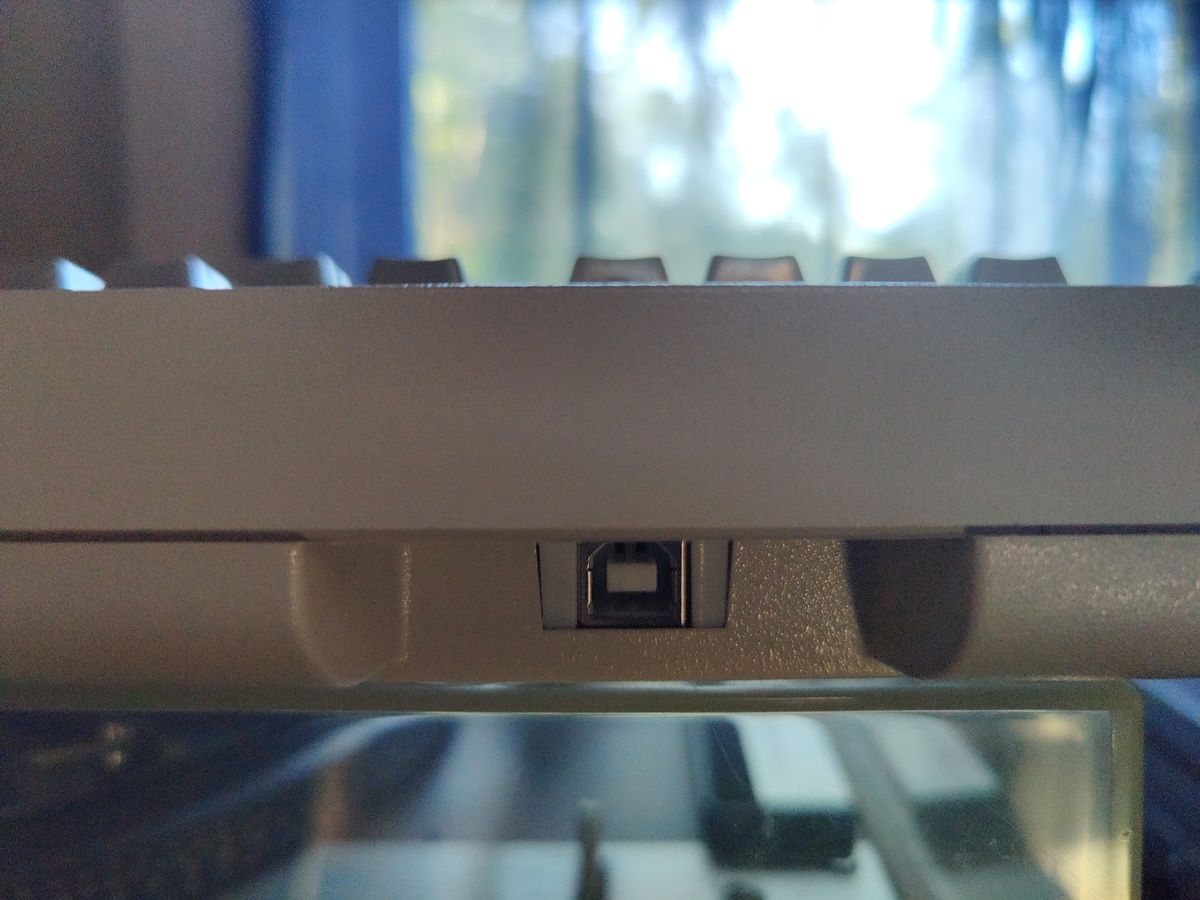
The Launch has been great, but the odd placement of the Del key, as well as the Home/PgUp/PgDn/End cluster and closely packed arrow keys, took some muscle memory adjustment and still just doesn't feel right. Plus I just miss that Model M look and feel. So, I found a conversion kit from "Keebd" called the Model H - a swap-in replacement board that replaces the M's controller PCB, giving it not just USB connectivity but also customizeable layout & functionality via the QMK firmware (the same firmware in the Launch, actually).
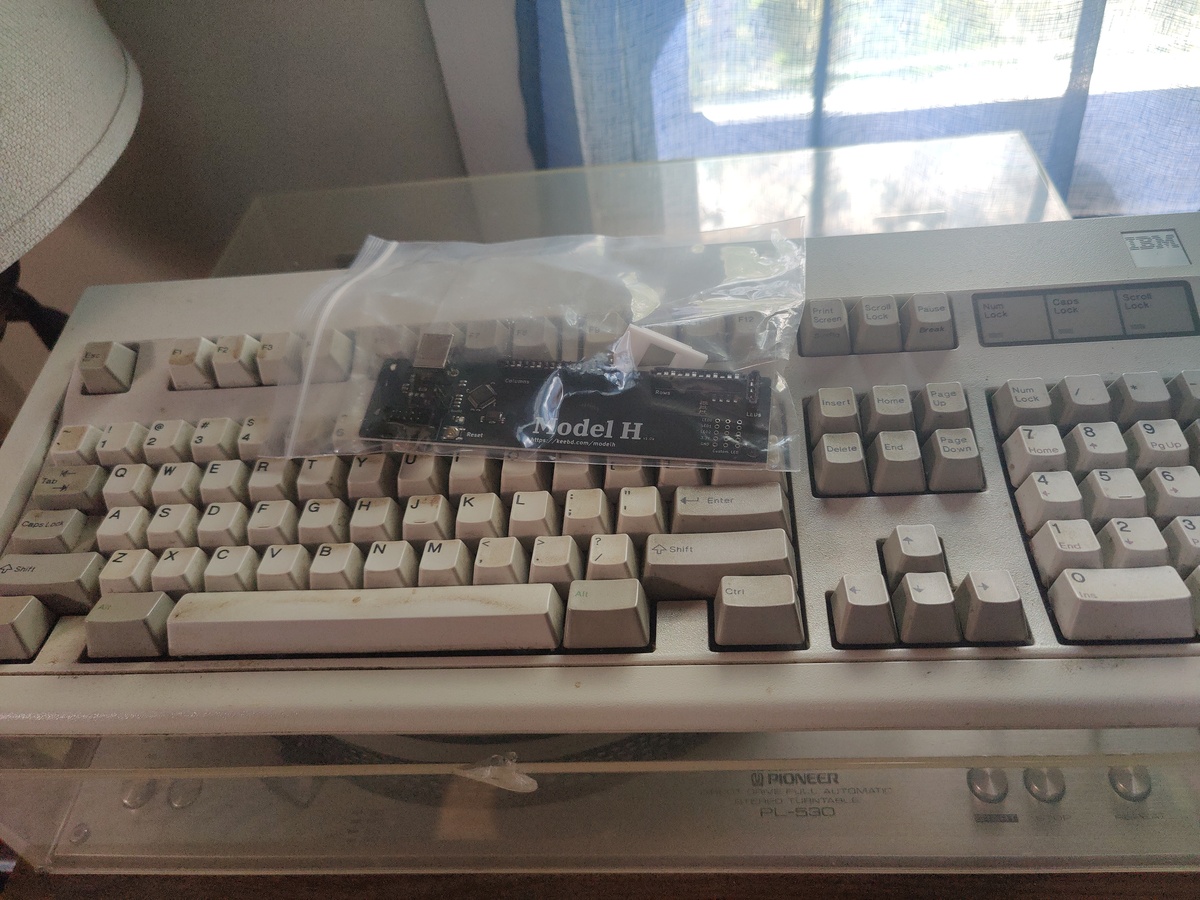
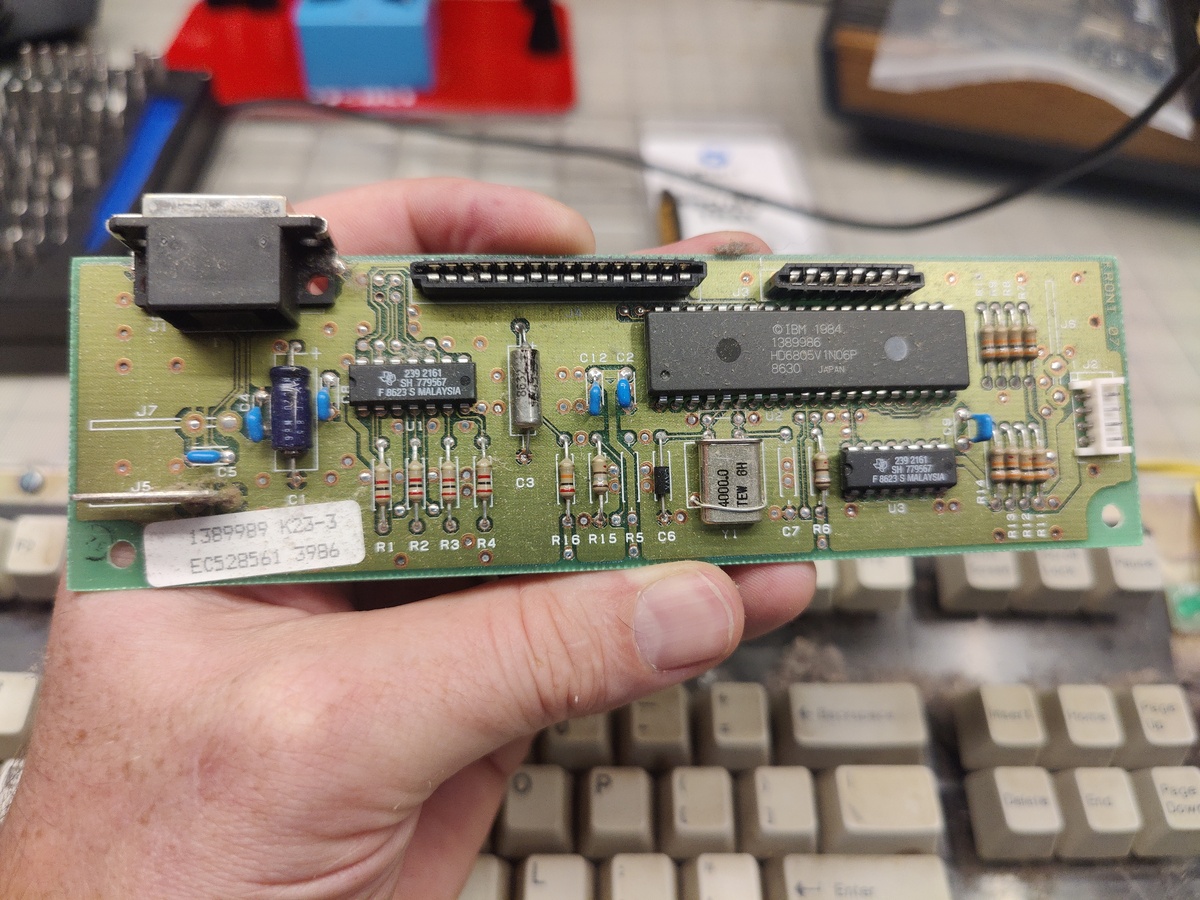
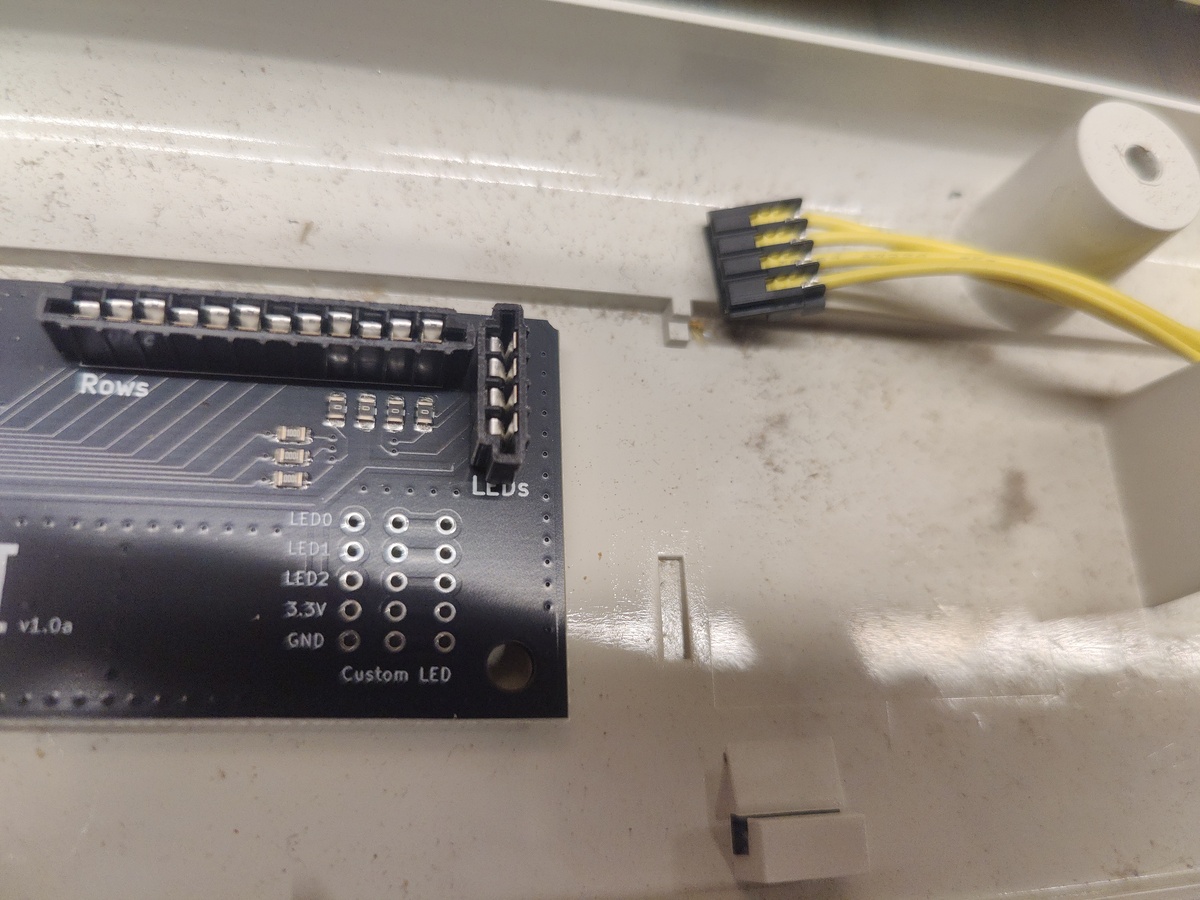
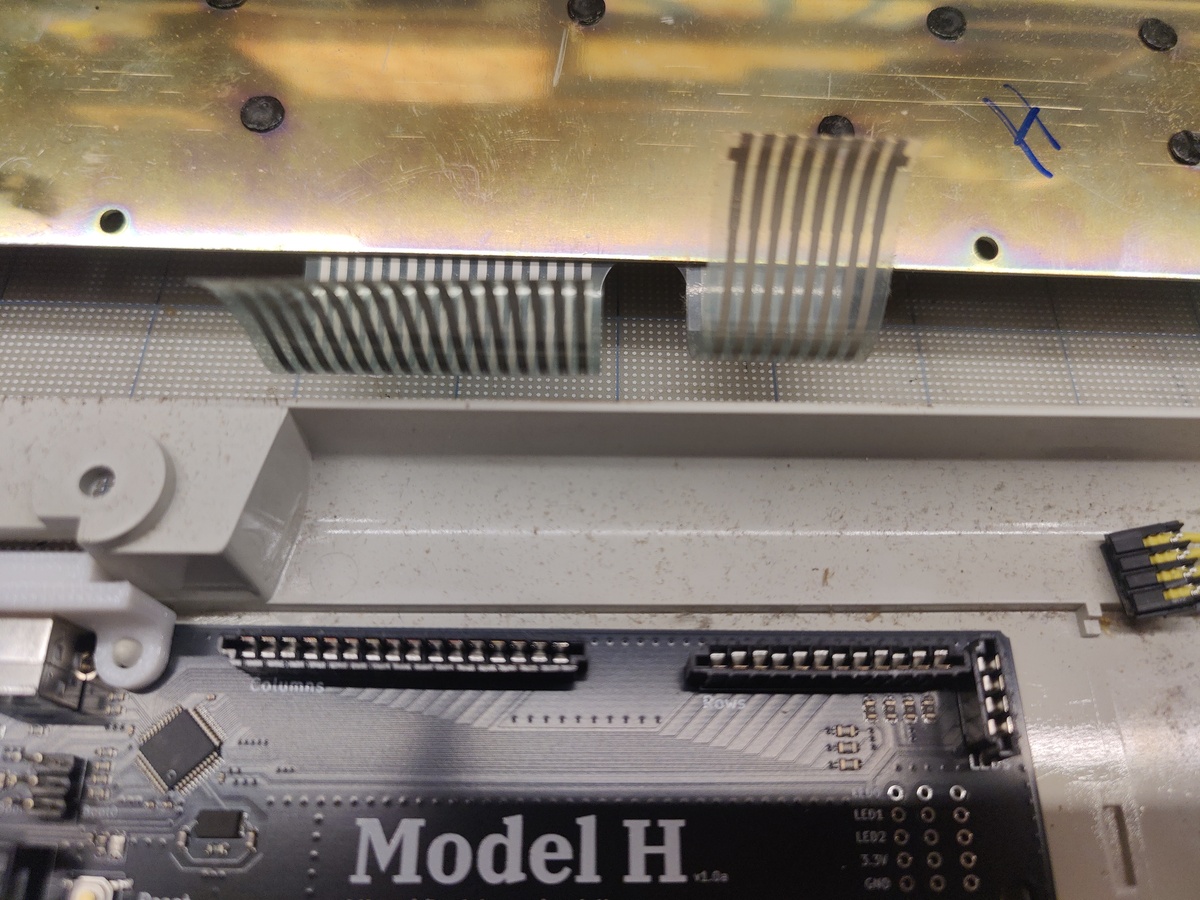
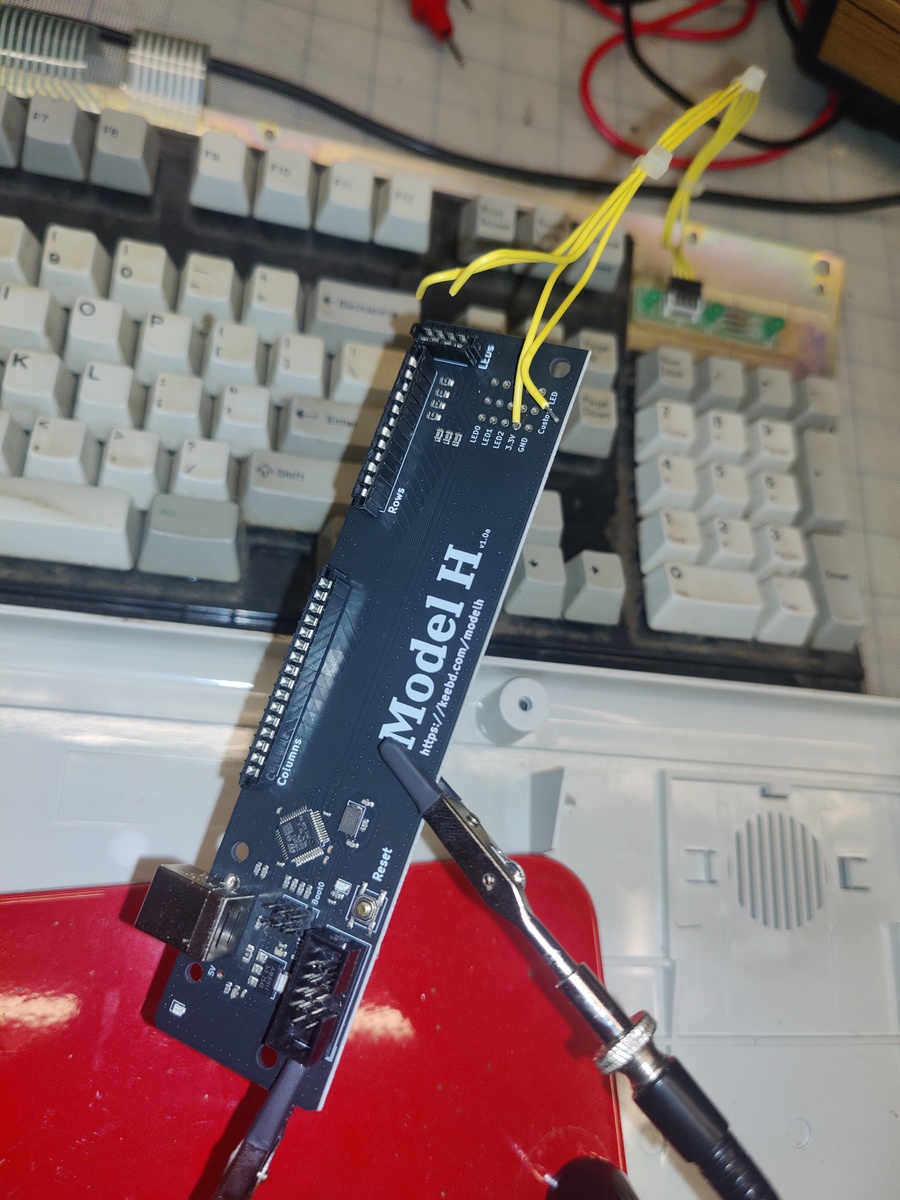
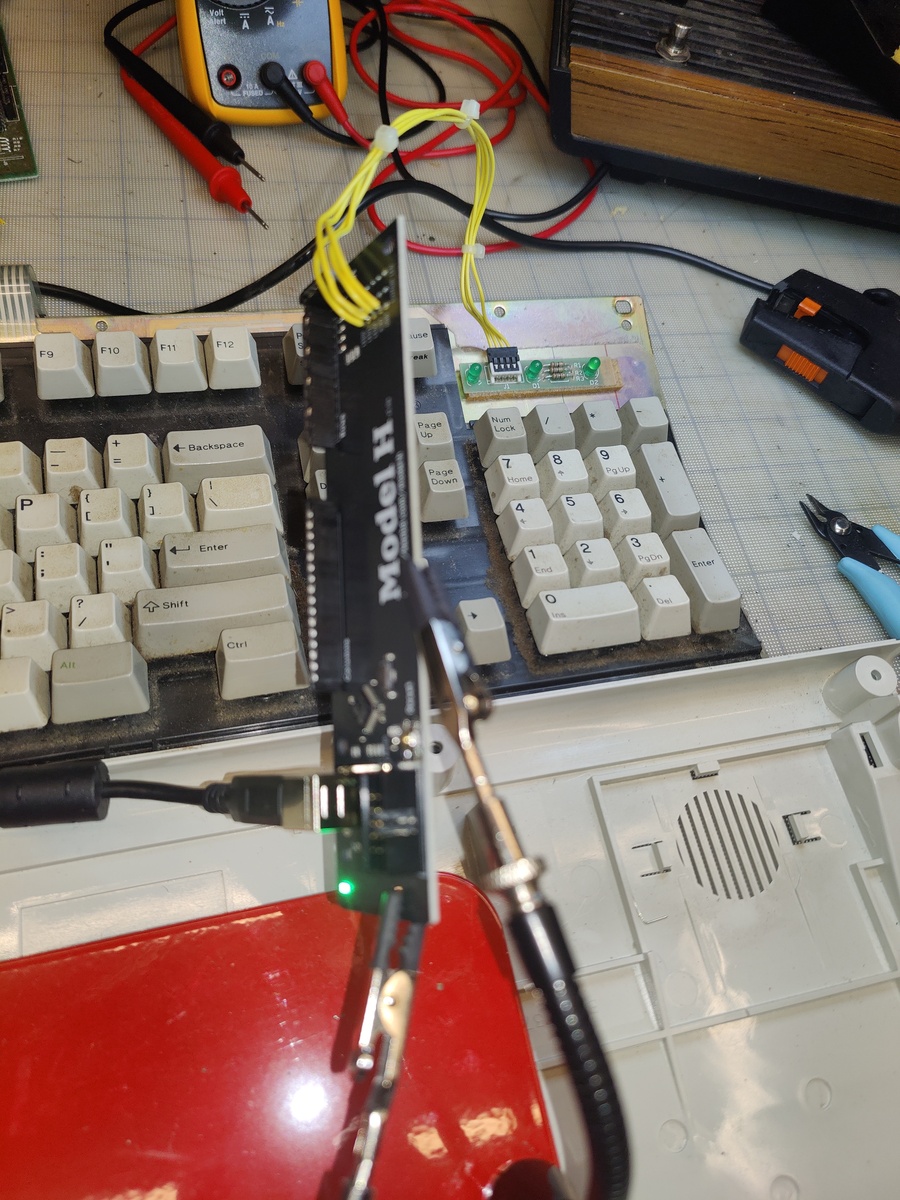
The swap process was straightforward, except that the Model H board expects a Model M with a ribbon connector for the LEDs, and mine had regular wires hooked up via 4-pin connectors. So I decided that, since I still have 2 more Model Ms that can stay original, I'd just cut and solder the wires directly to the contacts on the new controller board. Figuring out which wire went where took some trial and error, but eventually I got them lined up and soldered in place.
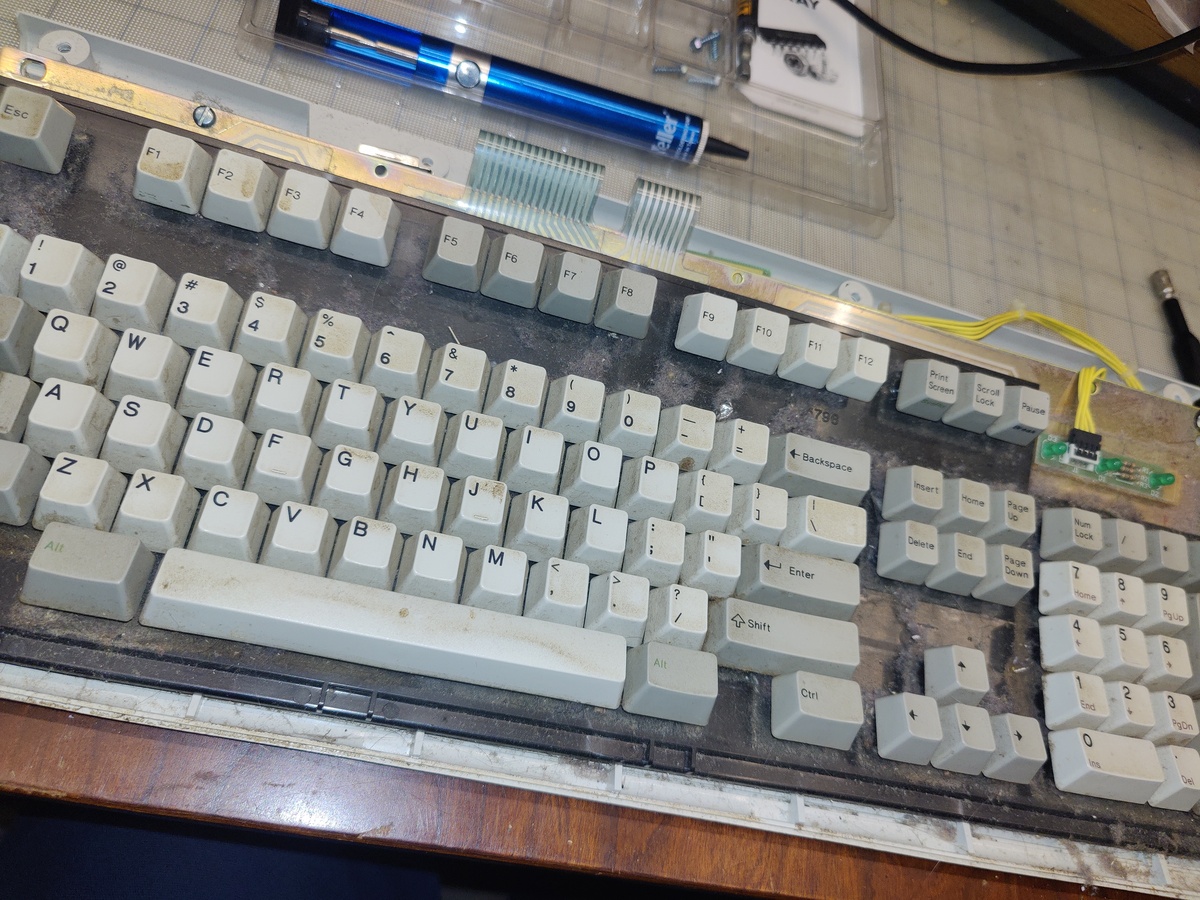
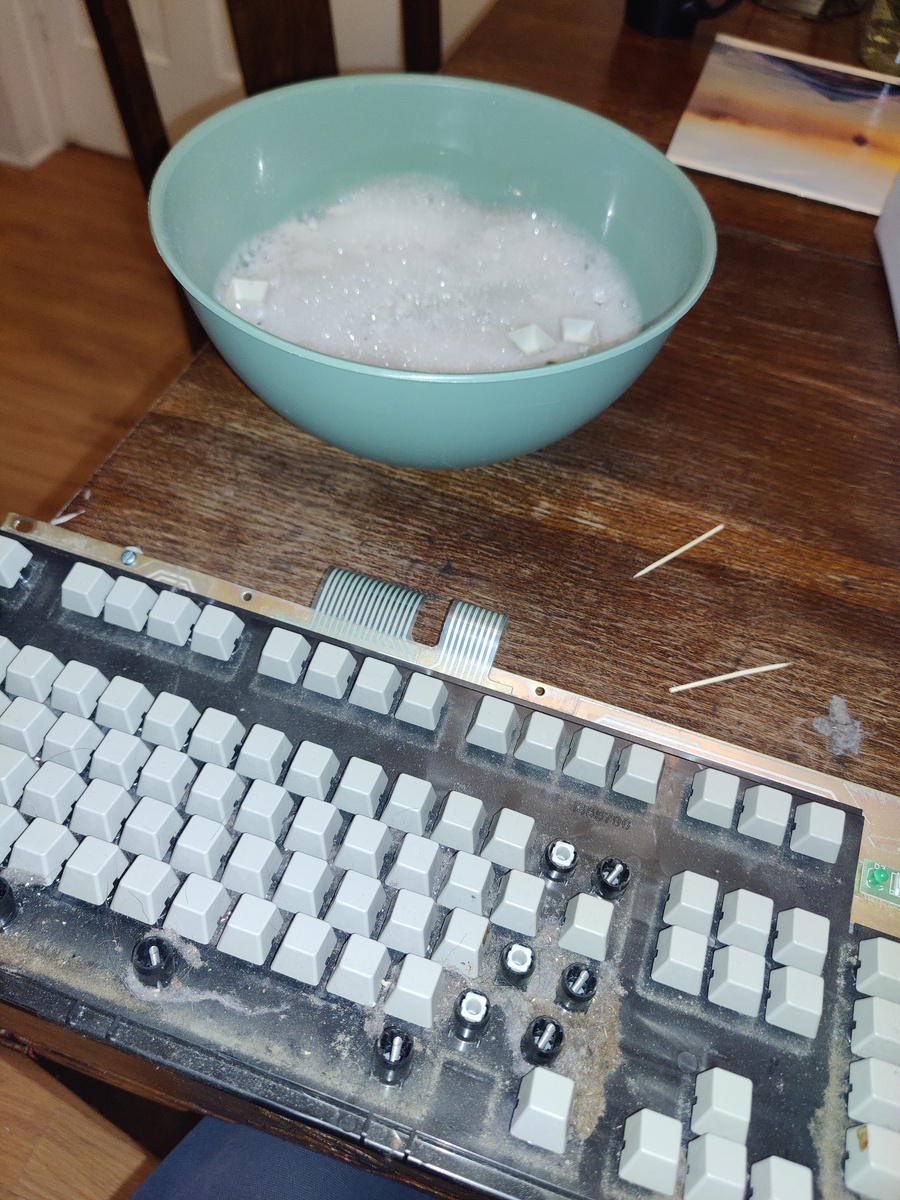
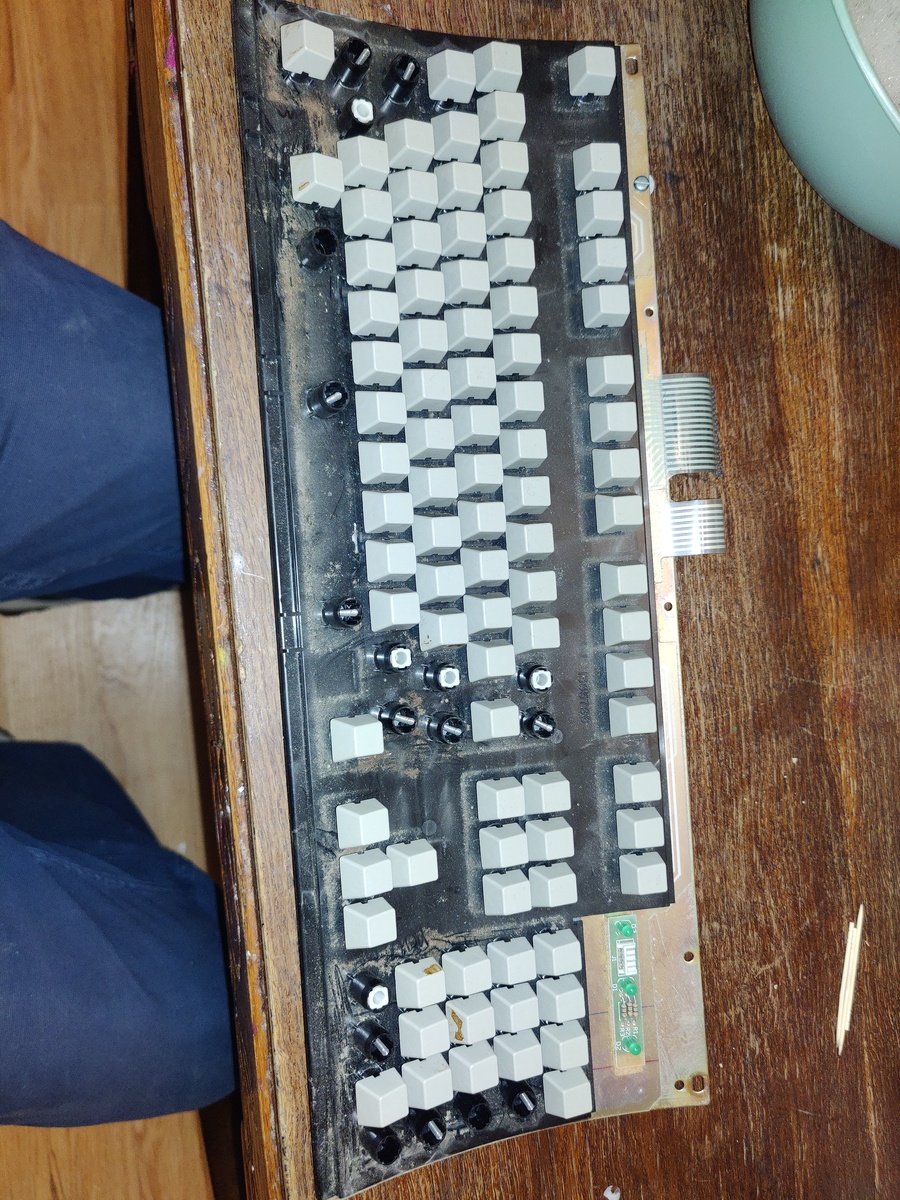
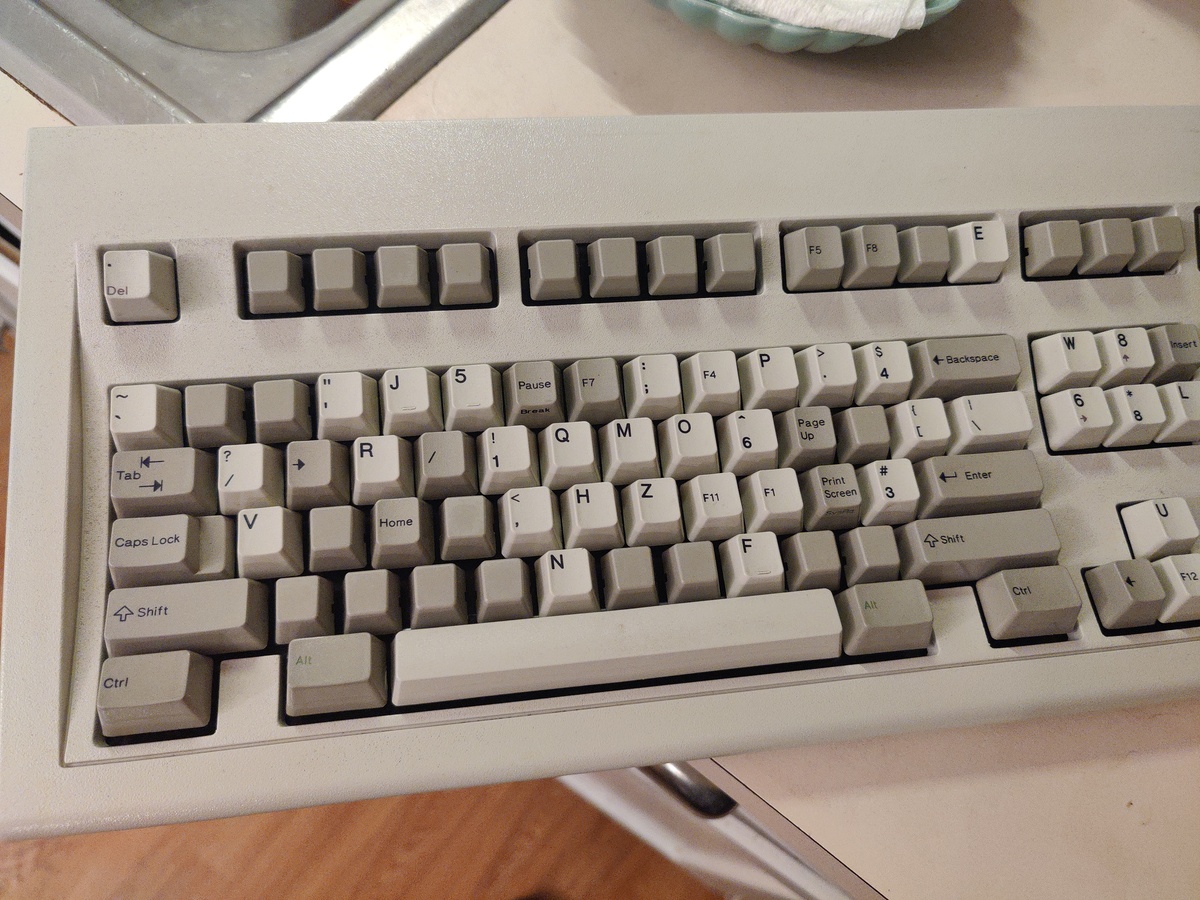
With that done and the keyboard passing my tests on the bench, the more tedious task ended up being cleaning it up. It was gross in there, but nothing some time with q-tips and a bowl of soapy water couldn't fix. Special thanks to my son for helping with the key cap replacement (though it will take some time to get used to the new layout).