Little Bit Of Real Studio Progress
So after a period of relative inactivity on the sound production front, a new studio is finally in the works. With the help of the rest of the YLS crew and input from our friend / sound production genius Darren Morton, it will be done right. We hope.
The studio will be a classic don't-touch-the-rest-of-the-house basement studio (i.e., let's not mess up the resale value of the house), in a space with a total of about 490 square feet. This space will be divided into two rooms, one which is thoroughly sound-proofed for rehearsal/recording, and another which is less-thoroughly sound-proofed but still nice and quiet and, more importantly, tuned for monitoring/mixing.
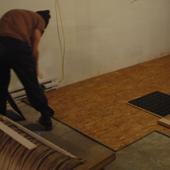
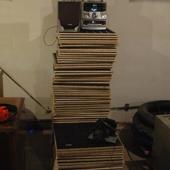
So since I'm trying to make this blog more about results than about possibilities (something which isn't easy for me), I'll move on to what we've actually done so far. First, we put in a subfloor material called "DRIcore". It was definitely the most expensive subfloor option -- but not that much more than comparable options -- and it was still probably cheaper than having a professional come in and do it. It also went in very quickly and easily (which is important for do-it-yourself hacks like us)... all in all, two of us probably spent less than four hours putting it in.
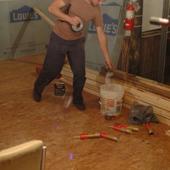
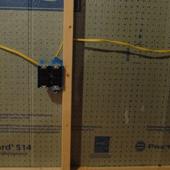
Even though the subfloor basically dried up our whole band fund (income from 16 shows, all spent on one floor -- yay), we were feeling the momentum of a successful project and decided to keep getting materials anyway. Our next step was to put up some fan-fold insulation around the outside walls as an additional moisture barrier... the basement had already been treated with moisture-sealing paint, but I wanted to be extra sure it would stay warm and dry down there. Because it ended up being such a pain to glue this stuff to the walls, we ended up framing up the stud wall and putting it up at the same time:
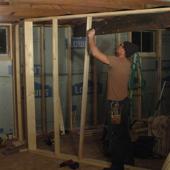
From there, the most exciting part of the weekend was putting up the framing for the partitioning wall; when we were done with that, we finally started getting a sense of how the space was going to feel when it was all done. Though we ran into some difficulty working around an existing low-hanging support beam... Building walls with angles in them isn't easy, it turns out! We scratched our heads for a good hour trying to figure out the best way to lay out the wall.
I also ended up starting the electrical work -- which turned out to be more involved than I had planned, because we had to pull out a lot of existing wire and plan how to run a few new circuits. I also found that, as with many older houses, the circuits in the house had no rhyme or reason to them, so I'll most likely have to re-run a couple of the old circuits to prevent losing outlet functionality upstairs. One nice thing, is that we were able to free up space in the breaker box by removing some old electric heaters that had been hap-hazardly put into the basement. We're planning on heating down there via two methods: one, adding vents to the existing furnace ducts which heat the upstairs, and two, a small potbelly pellet/wood stove (mainly for the ambiance factor).
More to come, hopefully soon.
Modified Wednesday, March 24, 2021
